Buying a used car can be risky—especially when hidden damage or repainting is involved. One of the most reliable ways to uncover a vehicle’s history is to measure paint thickness. In this guide, you’ll learn how to measure paint thickness on a car before buying, what tools to use, and how to interpret the results like a professional.
Why should you measure the paint thickness before buying a car?
When a car has been in an accident or undergone body repairs, it is often repainted. While a fresh coat of paint may look flawless, it can hide structural issues underneath.
Measuring paint thickness helps you:
- Detect repainting or body repairs
- Identify potential accident damage
- Evaluate the car’s true condition
- Avoid overpaying for a used vehicle
For buyers, this simple test can reveal information that even a visual inspection might miss.
What Is Normal Paint Thickness on a Car?
Before you start measuring, it’s important to understand the baseline.
- Factory paint thickness usually ranges between 80 to 150 microns (µm)
- Premium vehicles may have slightly thicker coatings
- Readings above 200 microns often indicate repainting
- Values over 300 microns may suggest filler or heavy repair work
Consistency is key. Even if readings are slightly higher, uniform thickness across all panels usually means the paint is original.
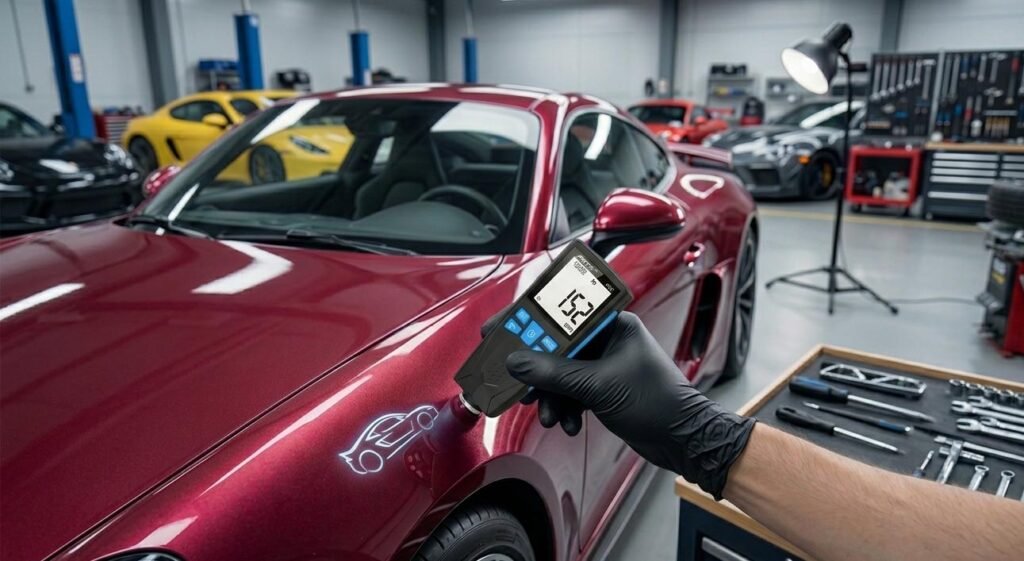
Tools You Need: Paint Thickness Gauge
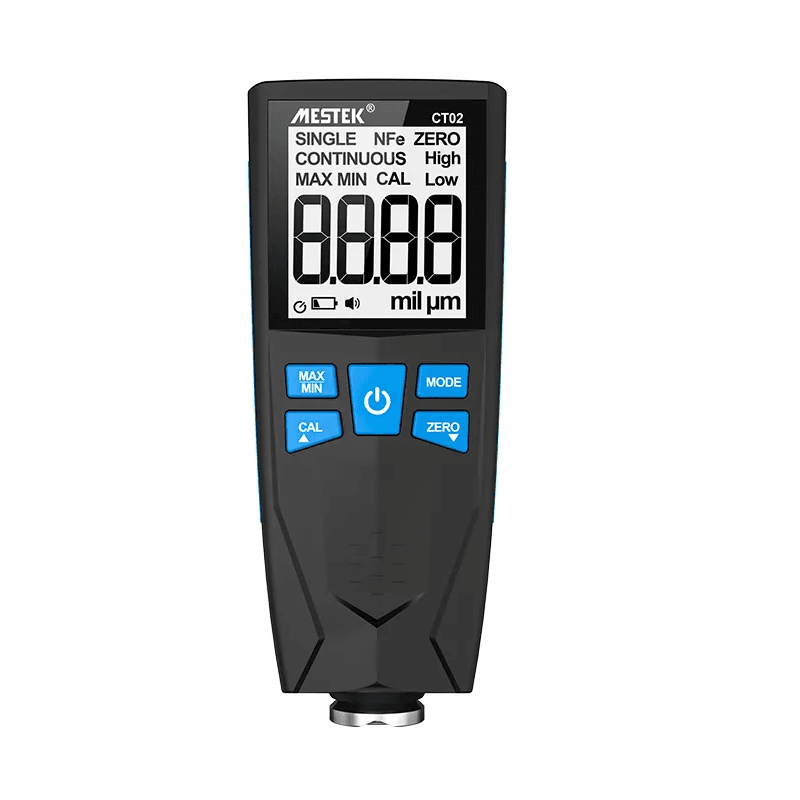
To properly measure paint thickness on a car, you’ll need a paint thickness gauge (also called a coating thickness gauge). This handheld device measures the distance between the surface and the underlying metal.
There are two common types:
- Magnetic gauges (for steel surfaces)
- Eddy current gauges (for aluminum surfaces)
Most modern devices combine both technologies, making them suitable for all types of vehicles.
Looking for a reliable and easy-to-use solution?
A professional-grade paint thickness gauge ensures accurate readings and helps you confidently assess any used car before purchase.
Check our recommended paint thickness gauge here →
How to Measure Paint Thickness on a Car (Step-by-Step)
Follow these steps to get accurate and consistent results:
1. Clean the Surface
Dirt, dust, or water can affect readings. Wipe the surface clean before testing.
2. Turn On and Calibrate the Device
Most digital gauges require calibration before use. Follow the manufacturer’s instructions to ensure accuracy.
3. Test Multiple Areas
Measure different parts of the car, including:
- Hood
- Doors
- Roof
- Fender panels
- Trunk
Take at least 3–5 readings per panel.
4. Record the Measurements
Write down or store the readings for comparison. Many advanced gauges include data logging features.
5. Compare the Results
Look for inconsistencies:
- Large variations between panels
- Sudden spikes in thickness
- One area significantly thicker than others
These are signs of repainting or repair.
How to Tell if a Car Has Been Repainted
Once you have your measurements, interpreting them is crucial.
Here are common indicators of repainting:
- Uneven thickness across panels
- One side of the car significantly thicker than the other
- Readings above 200–300 microns
- Inconsistent results on the same panel
For example, if the hood measures 120 µm but one door reads 280 µm, that door has likely been repainted.
Common Mistakes to Avoid
Even with the right tool, mistakes can lead to incorrect conclusions.
Avoid these common errors:
- Measuring only one spot per panel
- Ignoring aluminum vs steel differences
- Not calibrating the device
- Testing on dirty or wet surfaces
Taking multiple readings and using a reliable gauge will greatly improve accuracy.
Pro Tips for Accurate Measurement
- Always measure in a grid pattern across each panel
- Compare left vs right sides of the vehicle
- Pay extra attention to areas around doors and bumpers
- Use a digital gauge with dual-mode detection for best results
If you’re inspecting cars frequently (e.g., dealers or importers), investing in a high-quality gauge is essential.
Final Thoughts
Knowing how to measure paint thickness on a car before buying gives you a powerful advantage. It allows you to detect hidden repairs, verify the vehicle’s condition, and negotiate a better price.
While the process is simple, the accuracy depends heavily on the tool you use. A reliable paint thickness gauge can make the difference between a confident purchase and a costly mistake.
Ready to inspect your next car like a pro?
Upgrade your toolkit with a high-precision paint thickness tester and make smarter buying decisions today.
Explore our professional paint thickness gauges →