A small leak of refrigerants can result in reduced cooling system performance, increased energy consumption, and environmental damage. Traditional detection techniques, such as the use of soap bubbles, often fail to detect small or hidden leaks, making it challenging to pinpoint the correct location without specialized equipment.A halogen Leak Detector is where it fits; it allows you to find the leaks in the air conditioners, refrigerators, and auto systems very quickly and accurately. You can save time and money by learning how to use it properly. There is less time and money wasted when one learns how to use it correctly. So, are you ready to learn how to use a halogen leak detector step by step?
What Is a Halogen Leak Detector?
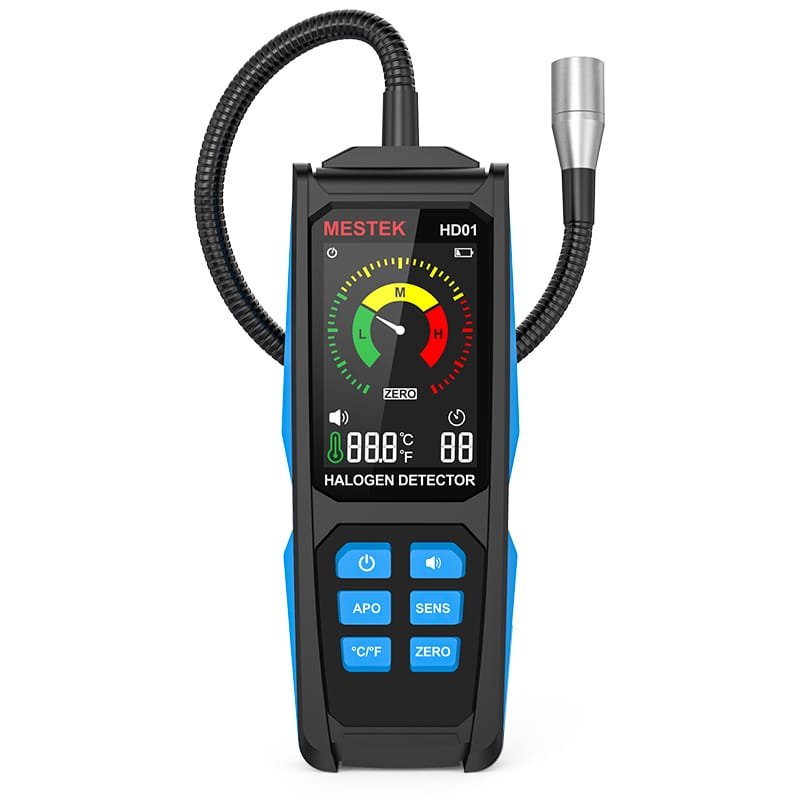
A halogen leak detector is an electronic instrument that detects levels of halogen gases, particularly refrigerants such as CFCs, HCFCs, and HFCs. The detector detects halogen atoms, such as fluorine or chlorine, present in these gases.
The use of halogen leak detectors is widespread in:
- HVAC systems, in which early warning of refrigerant leakages is utilized to maintain cooling performance and efficiency.
- Automotive air conditioning, to find problems in the car’s air conditioning.
- Refrigeration and cold storage are used commercially, where leaks may pose a risk to food safety, system integrity, or regulatory noncompliance.
These devices detect the presence of halogenated gas molecules in the air sample. They have a sampling probe or sensor, signal processing electronics, and an alert system (which may include audio, visual, or both). Even very low concentrations of refrigerant can be detected by sensitive leak detectors, which can be helpful in both preventive maintenance and the accurate repair of leaks.
Some advanced models are marketed as Freon leak detectors or air conditioner leak detectors. Still, they all work on the same principle of identifying halogen gases such as CFCs, HCFCs, and HFCs.[see halogen leak detector HD01]
Preparing for Leak Detection
You must prepare the items before you begin testing. These processes cannot be skipped or rushed, as this may result in false readings, leaks, and even damage to your equipment. Never hurry and do things one step at a time.
Wear protective equipment
Always wear the proper Personal Protective Equipment (PPE). This includes safety goggles, gloves, and, in some cases, a respirator if high concentrations of refrigerant are suspected. Spilled refrigerants may displace the oxygen or irritate the mucous membranes.
Ensure ventilation
Work in a properly ventilated place. The presence of good airflow helps disperse concentrations of background gases, enabling the detector to isolate leaks. If the space is enclosed, open doors or windows, or use forced ventilation.
Power on the Halogen Leak Detector and allow it to warm up
Turn on the instrument and allow the internal sensor to stabilize. Most halogen leak detectors require a warm-up time (commonly 2–5 minutes) before accurate readings can occur.
Confirm the probe is functioning correctly.
After the warm-up, perform a quick “sniff test” in clean air (or in a known reference gas, if available) to ensure the detector is in a baseline condition. Some detectors have a self-test or calibration mode; use that if available.
Set the sensitivity level.
Many detectors allow you to choose from sensitivity modes (low, medium, high). Begin with lower sensitivity to prevent false positives in background concentration or dr,ift, but increase sensitivity in a smaller search as necessary.
How to Use a Halogen Leak Detector: Step-by-Step Guide
Here is a straightforward, sequential method for using a halogen leak detector in practice.
Step 1: Power On and Warm Up
- Power on the instrument and wait the recommended 2–5 minutes (or as stated in the manual) for it to warm up.
- During warm-up, the device’s sensor, electronics, and calibration circuits settle. Jumping into detection too early may yield unstable readings.
- If the device has a self-calibration option or a baseline reset button, use it now.
Step 2: Adjust Sensitivity
- Begin with the lowest sensitivity setting. This avoids overreacting to ambient background halogen gas or drift.
- If you don’t detect any signals but suspect a small leak, gradually raise the sensitivity.
- Watch for sudden spikes or jumps in the signal; those could indicate a real leak or noise interference.
- For air conditioner leak detector tasks, you may need to run on medium sensitivity until you approach the suspect area.
- For Freon leak detection, if your model recognizes Freon (R-134a, R-22, etc.), higher sensitivity may be needed to detect fine leaks.
Step 3: Position the Probe
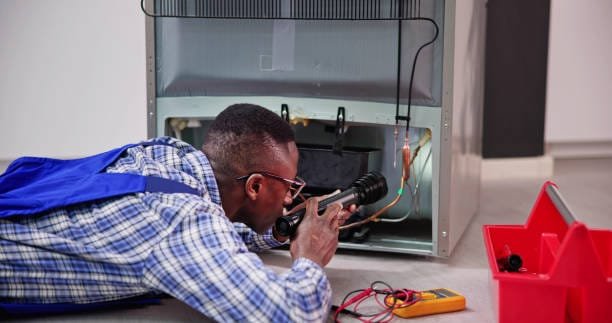
- Carefully position the detector’s probe tip or sampling port near the joints, valves, welds, O-ring seals, compressor heads, evaporator coil connections, service ports, or tubing connections.
- Move slowly, approximately 2–3 cm per second is a good rule of thumb. The slower movement gives the sensor time to respond.
- When using the probe, hold the tip slightly off the surfaces (only a few millimeters) without touching metal.
- If there are multiple suspect points, scan systematically, starting from upstream and downstream, or inside-out, and so on.
Step 4: Observe the Signals
- Listen and watch as you move the probe. Depending on the model, the device can beep, display a flashing light, or present values on a digital display.
- Whenever the alarm (beep or light) is more frequent or more substantial, it is an increase in halogen gas concentration (a leak).
- Other detectors display analog bars or numeric PPM readings; note how the meter slowly rises as you approach a leak.
- To be more specific with your sensitivity to that gas, use the Freon leak detector mode or air conditioner leak detector mode (your unit may have specific refrigerant names) of your detector.
Step 5: Confirm the Leak
- When a suspicious reading is observed, stop and let the probe linger in the same place to determine whether the signal is still increasing or not.
- Go round it in slightly different directions to verify.
- Test at various angles and positions to ensure that they are not false positives.
- To be even more certain, rub soapy water around the suspected joint; if there is a genuine leakage, the bubbles will form.
- Alternatively, you may cross-check against an electronic leak detector or an ultrasonic leak detector.
Repeat the process on the complete refrigerant line (evaporator, condenser, piping, joints) until all possible leak sources have been checked.
Common Problems When Using Halogen Leak Detectors
Despite the care, specific problems may develop. These are a few of the pitfalls and how they can be avoided.
- Avoid Airflow or Fan Interference: Powerful airflow or fan drafts can disperse or dilute the trace refrigerant gas, making it difficult for the probe to detect the leak. Block airflow or cover fans when probing.
- Avoid Contact with Moisture or Oil: Moisture, oil, solvents, or cleaning vapors in the probe tip can cause problems, resulting in variable or false signals. Keep the tip clean and dry.
- Regularly Replace the Filter and Probe: Many detectors contain replaceable filters or probe tips. These become congested or polluted over time, making them less sensitive to changes. Follow the maintenance instructions as advised by the manufacturer.
- Avoid Testing Before Preheating: When you start testing before the detector has fully warmed, you can expect incorrect and unstable readings. Never rush, but wait until the warm-up is over.
- Avoid Moving Too Quickly: When sweeping the probe, you may miss a leak before the sensor can detect it. Keep the advised speed (23cm/sec) or less near areas of suspicion.
- Avoid Prolonged Testing in High-Concentration Areas: When you keep the probe in a high concentration of refrigerant, the sensor can easily become dead or saturated, resulting in a reading that does not increase or change responsiveness.
MESTEK Instruments: Reliable Tools for HVAC and Leak Detection
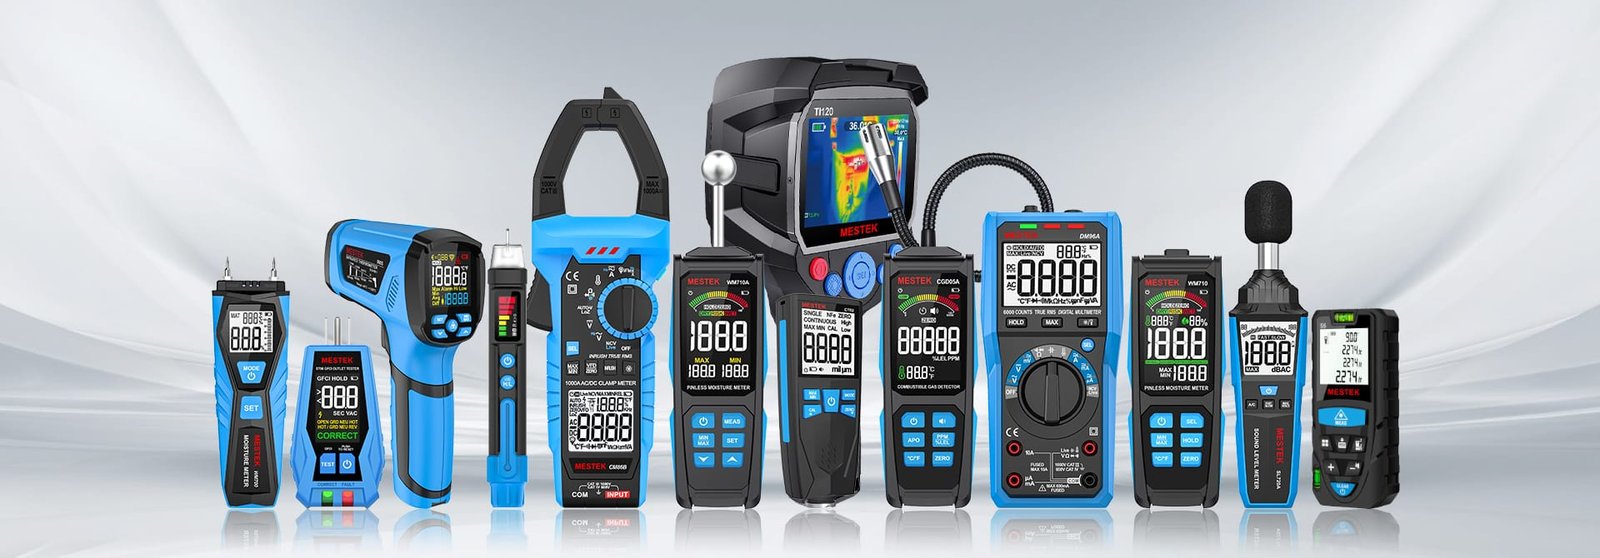
At MESTEK Instruments, precision tools are built to support HVAC professionals and technicians. In addition to the reliable halogen leak detector to test refrigerant, the brand also supplies Infrared Thermometers and Clamp Meters, which are helpful for diagnostics and maintenance of systems.
These solutions help ensure safety, efficiency, and accuracy in cooling and electrical applications. Mestek is delivering tools that enable professionals to work faster and more reliably with innovative designs and reliable work.
Conclusion
Refrigerant leaks are much easier to detect when the right tools are used. A halogen leak detector provides accurate results while helping prevent costly repairs, energy waste, and unnecessary downtime.
Regardless of the field you work in, whether it’s HVAC, automotive, or refrigeration systems, this device will make your inspections safer and more efficient. At Mestek Instruments, we develop reliable instruments that are more efficient in detecting leaks. Isn’t it time to choose equipment that helps you work smarter and with confidence? Visit Mestek Instruments today to discover the ideal solution for your specific needs.