With wiring systems getting more complex in both homes and commercial buildings, being able to pinpoint the correct breaker without trial and error isn’t just convenient—it helps avoid costly mistakes and keeps everyone safer.
So, here’s what I’ll try to do in this article: break down how to use a circuit breaker finder in plain terms—step by step—share a few mistakes I’ve seen (and made), and include some hands-on tips I wish I had known earlier. If you’re new to the tool, hopefully this helps you get better results without the trial-and-error I went through.
What Is a Circuit Breaker Finder?
A circuit breaker finder is a two-part diagnostic tool:
Transmitter – Plugs into an outlet or connects to a wire. It sends a signal through the circuit.
Receiver – Scans the breakers in your panel and identifies which breaker the transmitter is connected to.
With this tool, we can easily see which circuit breaker controls which outlet or light fixture – which is common in older buildings or homes with unclear panel markings.
Step-by-Step: How to Use a Circuit Breaker Finder
1. Plug In the Transmitter
Start by inserting the transmitter into the outlet or wiring you want to trace. Make sure the device is powered on (some models have an LED indicator to confirm activity).
2. Go to the Breaker Panel with the Receiver
Take the receiver to your electrical panel. Most units have a power button and LED/audio indicators.
3. Scan Each Breaker Slowly
Activate the receiver and hover it over each breaker one at a time. Move slowly and wait for a beep or light signal to indicate a match.
4. Confirm the Correct Breaker
Once the receiver indicates the matching breaker, double-check by plugging in a lamp or device into the original outlet and switching the breaker off to see if the power cuts.
5. Label the Breaker
If the breaker was unlabeled, now’s the time to add a label for future reference.
Common Mistakes to Avoid
- Scanning too quickly – Can cause false positives or missed signals.
- Clamping around both hot & neutral – Will cancel the signal (use hot or single conductor only).
- Using near interference (Wi-Fi routers, microwaves) – May affect accuracy in some budget models.
- Not checking battery levels – Low battery = low signal.
xpert Tips for More Accurate Results
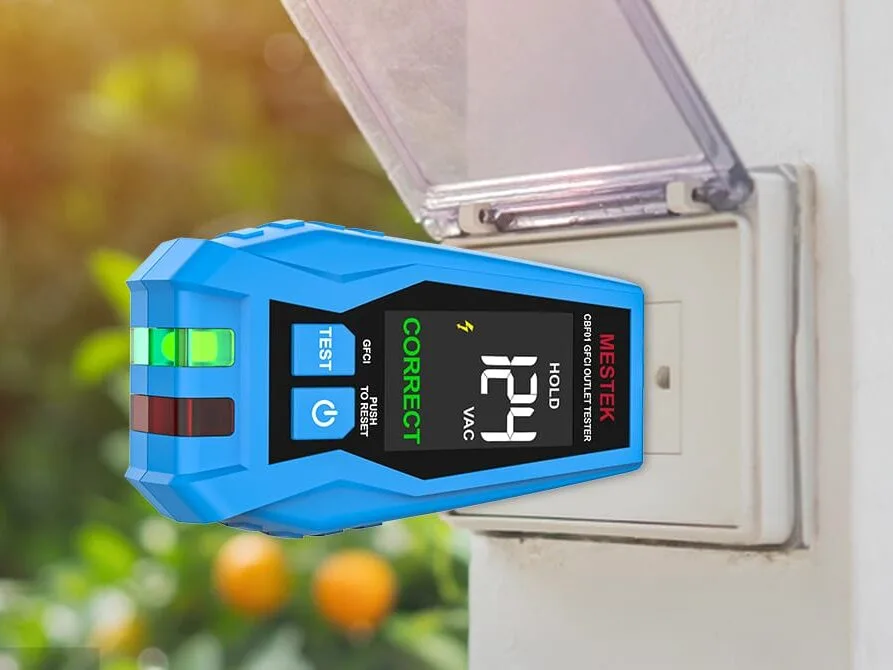
- Please test using an outlet with a GFCI.
- Choose a device with dual feedback: both audible tone and LED indicators.
- For large panels, label confirmed breakers immediately to avoid re-testing.
- Repeat the test twice to ensure consistency.
Recommended Circuit Breaker Finder: MESTEK CBF01

The MESTEK CBF01 is an advanced circuit breaker finder designed for both DIYers and electricians. With auto-pairing, clear LED signal strength display, and a compact build, it’s one of the easiest tools to use in the field.
- Voltage Range: 90–135V AC
- Smart auto-calibration
- Signal indicator lights + beeping feedback
- Ideal for residential and light commercial use
Conclusion
Knowing how to use a circuit breaker finder effectively can save you time, prevent hazards, and make your work more efficient. From tracing an outlet to prepping a safe workspace, this tool simplifies an otherwise frustrating task.
Whether you’re troubleshooting a dead plug or prepping for an installation, having a reliable finder like the MESTEK CBF01 gives you confidence and control.
Looking for more electrical diagnostic tools? Explore our full range at mestekinstruments.com.