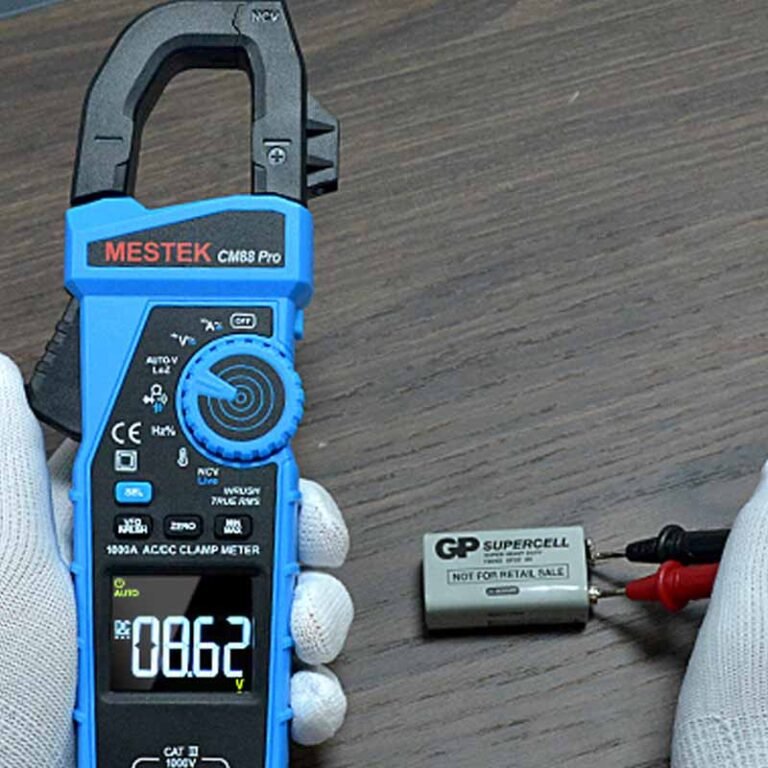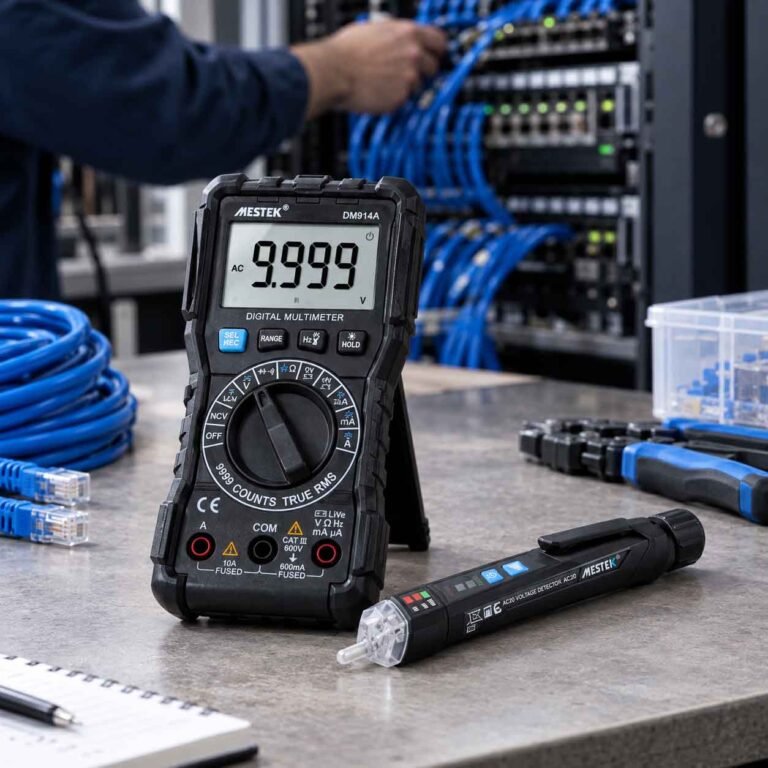
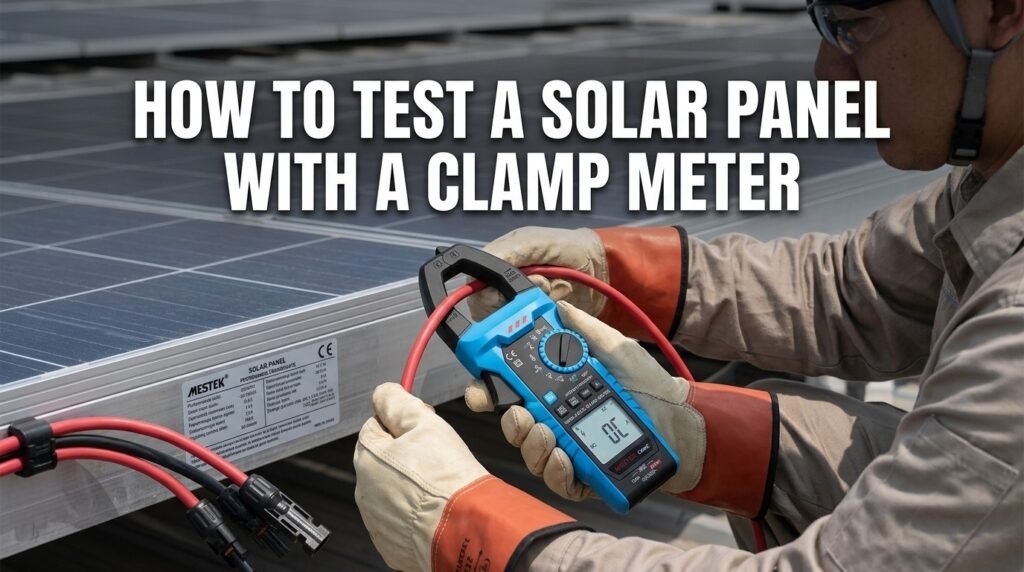
Maintaining a solar energy system requires more than just cleaning the panels. Regular solar panel testing is essential to ensure peak system performance and long term safety. Over time, harsh weather and the environment can weaken connections and reduce system efficiency. A photovoltaic clamp meter is one of the most efficient tools for this task. It allows technicians to measure voltage and current safely without breaking the circuit. You can maximize energy yield and prevent hazardous electrical faults in your PV installation by identifying issues early. This article shows you how to test a solar panel with a clamp meter to keep your system safe and strong.
Safety Before Testing
Working with photovoltaic (PV) systems involves high voltage DC electricity, which can be more dangerous than standard household AC. Before you begin solar panel voltage testing, you must prioritize safety.
Follow these safety precautions:
- Wear insulated gloves and safety glasses.
- Use PPE that meets electrical safety standards.
- Never touch exposed conductors.
- Inspect the clamp meter and test leads for damage.
- Verify that your meter supports the expected PV voltage.
- Test only during safe weather conditions.
- Follow lockout/tagout procedures when servicing larger systems.
- Read the manufacturer’s instructions before testing.
Safety should always be your first priority during PV maintenance.
What You Need
You need specialized equipment to perform a professional grade diagnostic. Standard DIY tools often lack the safety ratings required for modern high output solar arrays.
The following are essential tools:
1. Solar Clamp Meter: A specialized clamp meter for solar panels capable of measuring at least 1000V DC.
2. Test Leads with MC4 Adapters: These allow for a more secure connection to solar cables than standard probes.
3. PPE (Personal Protective Equipment): Insulated boots and Class 0 electrical gloves.
4. Irradiance Meter (Optional): To measure how much sunlight is hitting the panel during the test, helping you normalize your data.
How to Test a Solar Panel with a Clamp Meter
The testing process involves checking both the “pressure” (voltage) and the “flow” (current) of the electricity being produced. Here is a step by step guide to doing it correctly.
1. Measure DC Voltage (Open Circuit Voltage – Voc)
The first step in solar panel voltage testing is measuring the Open Circuit Voltage (Voc). This is the maximum voltage the panel can produce when not connected to a load.
- Disconnect the solar panel from the rest of the array or the charge controller.
- Set your solar clamp meter to the DC Voltage (V⎓) setting.
- Insert the red test lead into the positive terminal and the black lead into the negative terminal of the meter.
- Touch the red probe to the positive MC4 connector and the black probe to the negative MC4 connector of the solar panel.
- Record the reading. A healthy panel should show a voltage very close to its Voc rating, usually between 18V and 45V for individual panels, depending on the model.
2. Measure DC Current (Short Circuit)
Measuring the Short Circuit Current (Isc) tells you the maximum current the panel can produce. A photovoltaic clamp meter is ideal here because it measures current without breaking the circuit or using shunts.
- Connect the positive and negative MC4 leads of the solar panel together to create a short circuit. Note: Only do this for individual panels or strings within the meter’s rated capacity.
- Set your meter to the DC Current (A⎓) mode.
- Important Step: Press the “Zero” or “REL” button on your meter to account for the Earth’s magnetic field and ensure an accurate DC reading.
- Open the clamp jaws and place them around only one wire (either the positive or the negative).
- Ensure the wire is centered in the jaws for the highest accuracy.
- Record the reading. This value should be compared with the Isc on the label, adjusted for current sunlight conditions.
3. Test Inverter AC Output
If the panels show healthy DC output, the problem might lie in the conversion process. Use your clamp meter to check the inverter’s AC output.
- Set the meter to AC Voltage (V~) and measure the output at the inverter’s AC terminals to ensure it matches your local grid voltage (e.g., 120V or 240V).
- Switch to AC Current (A~) and clamp around one of the AC output phases to see how much power is being sent to the home or grid. Using a meter with True RMS technology is essential to obtain accurate readings from the non-sinusoidal waves often produced by modern inverters.
4. Compare Readings with Specifications
Every solar panel has a “nameplate” on the back. This label lists the Voc, Isc, and Vmp under Standard Test Conditions (STC). Remember that STC assumes 1,000 watts per square meter of sunlight. If it is a cloudy day, your readings will naturally be lower. Generally, if your voltage is within 10% of the spec sheet, the panel is healthy.
Common Problems You May Find
When you perform solar panel voltage testing, you might encounter readings that don’t match the specifications. Here is what those discrepancies usually mean:
1. Low Voltage
This often indicates a failed bypass diode within the junction box. If a cell or section of the panel fails, the diode should “bypass” it. But if the diode itself fails, the entire panel’s voltage can drop significantly.
2. Low Current
This is most commonly caused by shading or dirt. However, if the panel is clean and in full sun, low current may indicate internal resistance buildup or “micro cracks” in the silicon cells.
3. Loose Wiring
If your clamp meter shows fluctuating or “jumpy” readings, check the MC4 connectors. Moisture ingress or poor crimping can cause high resistance connections that generate heat and reduce efficiency.
4. Faulty Inverter
If the panels show perfect voltage but the system is not producing power, the inverter’s MPPT (Maximum Power Point Tracking) controller may be unable to “lock onto” the load.
5. Damaged Solar Panel
Physical signs like browning (burnt cells) or delamination (bubbles under the glass) will almost always result in poor performance on your meter.
Choosing the Right Clamp Meter for Solar Work
Not all clamp meters are created equal. For photovoltaic work, you cannot use a standard HVAC or automotive meter. You need a device specifically engineered for high energy environments.
When selecting a clamp meter for solar panels, look for these professional features:
- 1000V PV Voltage: Most residential strings run at 400V-600V, and commercial systems hit 1000V. Your meter must be rated for this.
- AC/DC Current: Solar panels produce DC. Many basic clamp meters only measure AC current. Ensure your meter has a DC current Hall Effect sensor.
- True RMS: This ensures accurate measurements even when the electrical signal is “noisy” or non-sinusoidal, which is common in inverter-based systems.
- CAT III/IV Safety: Ensure the meter complies with EN61010 standards to protect you from high voltage surges.
- Power Measurement: Advanced meters can calculate KVA directly, helping you assess system efficiency instantly.
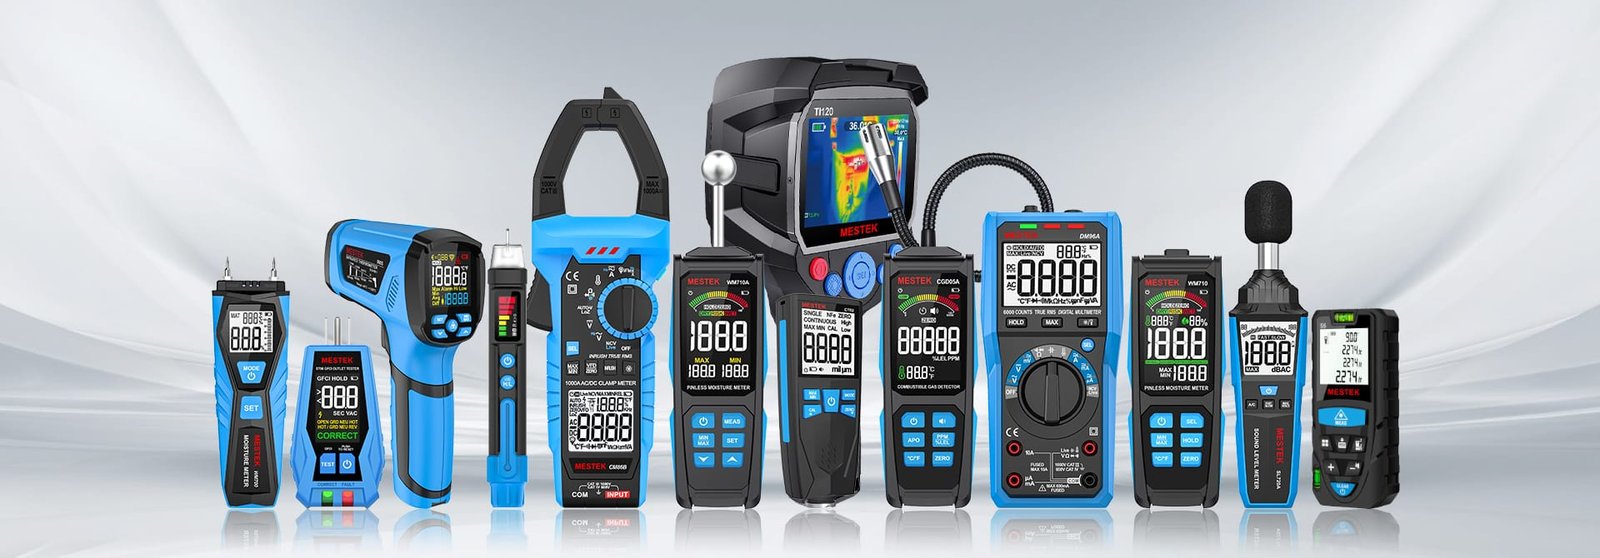
Recommended Clamp Meter for Solar Technicians: MESTEK CM86C
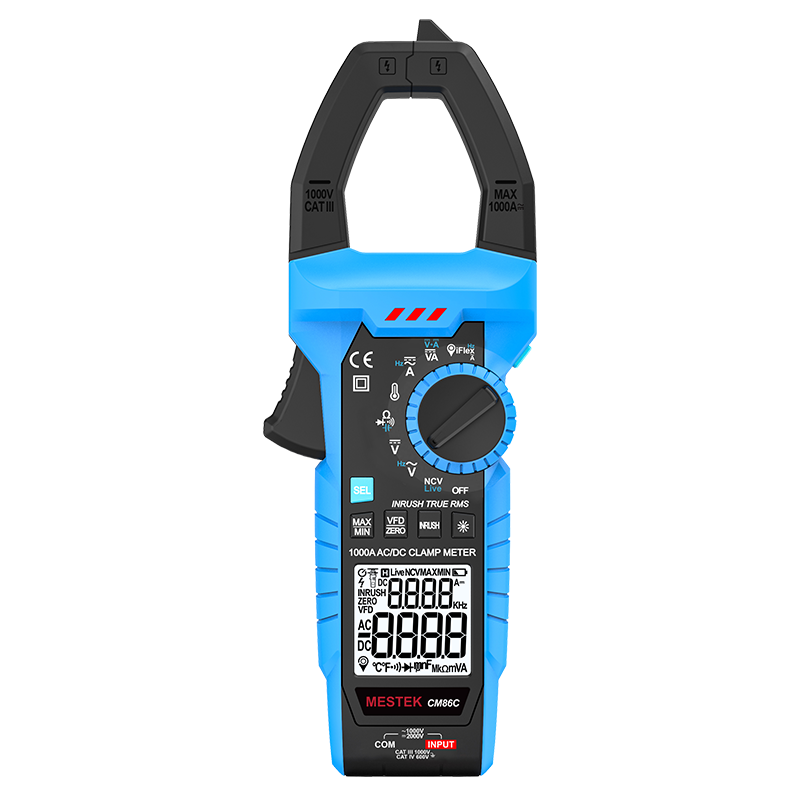
The MESTEK CM86C is a top tier choice for professionals and serious DIYers. It is specifically designed for photovoltaic systems, supporting up to 1000V PV AC/DC voltage measurement. This makes it best for testing everything from individual panels to complex combiner boxes.
The MESTEK CM86C features True RMS technology and can measure up to 1000A AC/DC current. For those working with massive commercial arrays, it even supports an optional 3000A iFlex flexible clamp for large conductors.
Beyond basic measurements, it includes inrush current detection, NCV (Non Contact Voltage) for safety, and K-type temperature measurement to check for overheating components. Whether you are performing a routine solar installation, PV maintenance, or inverter testing, the CM86C provides the precision and safety required for high voltage electrical inspections.
The MESTEK CM86C excels in practical solar applications.
- For Solar Installation, the inrush current feature helps test motor-driven trackers.
- During PV Maintenance, the 1000V DC range ensures you can test entire strings without blowing the meter’s fuse.
- For Inverter Testing, the True RMS and power measurement functions allow for precise efficiency calculations.
- The Electrical Inspection is made easier with the built-in NCV (Non-Contact Voltage) detection and flashlight for dark attic or basement work
Conclusion
Testing your solar system is the best way to protect your investment and ensure optimal energy production. You gain the ability to diagnose issues quickly and safely by mastering how to test a solar panel with a clamp meter. Using a dedicated photovoltaic clamp meter like the MESTEK CM86C ensures you have the 1000V rating and DC current capability needed for modern solar arrays. Keep your panels clean, your connections tight, and your meter ready for regular checkups.
FAQs
1. Can I use a standard multimeter to test solar panels?
Yes, but only for voltage. Most standard multimeters have a 10A current limit. Solar panels can exceed this, which might blow the fuse in your meter or cause it to overheat. A clamp meter is much safer for current testing.
2. Why is my solar panel current lower than the label says?
The label reflects “Standard Test Conditions.” In the real world, factors such as the angle of the sun, atmospheric haze, and the panel’s temperature will reduce the current. High heat actually reduces solar panel efficiency.
3. Do I need to disconnect the panel to test the voltage?
To test the Open Circuit Voltage (Voc), yes, the panel must be disconnected from the load. To test the operating voltage (Vmp), you can test it while it is connected and running through the inverter.
4. What is the benefit of a “True RMS” meter for solar?
Inverters convert DC to AC, often creating electrical noise. A True RMS meter, like the MESTEK CM86C, filters out this noise to give you an accurate “Real” reading, whereas non RMS meters may be off by up to 40%.
5. Is 1000V really necessary for a solar clamp meter?
Yes. While a single panel is only 40V, solar panels are wired in “strings.” A string of 10 panels can easily reach 400V-500V, and many modern systems go much higher. Using a lower rated meter can be fatal.
6. How often should I test my solar panels?
You should check your solar system once or twice a year, or whenever you notice it is producing less power than usual.
7. Is it safe to short circuit a solar panel for testing?
Yes, individual solar panels are designed to handle their short circuit current (Isc) indefinitely. However, you must use caution and ensure your connectors and photovoltaic clamp meter are rated for the expected current.