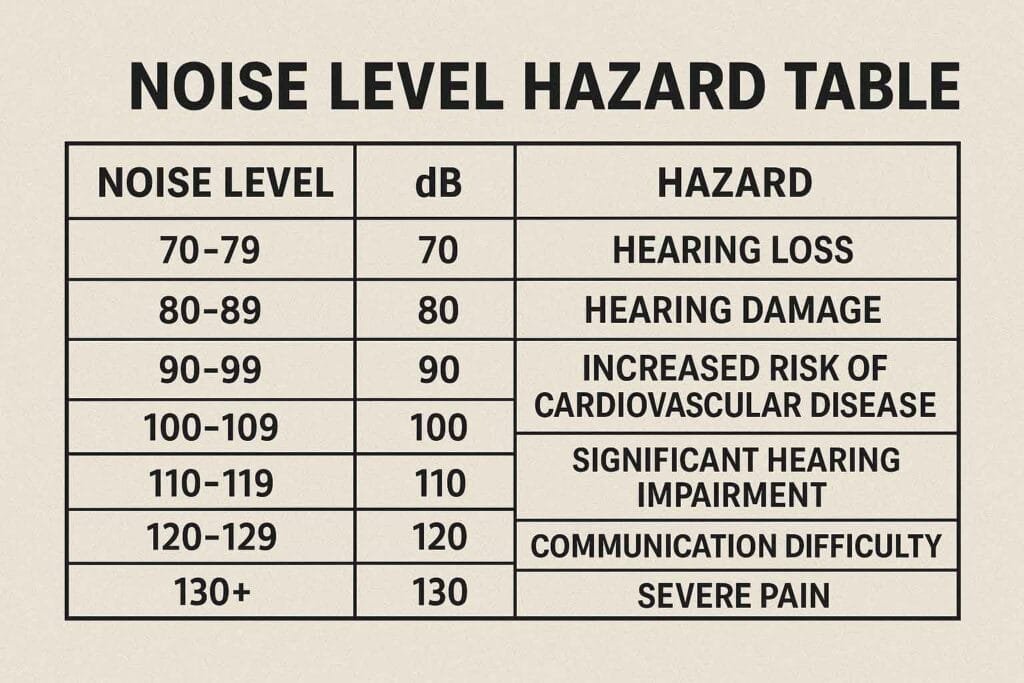
Loud and persistent noise at work isn’t just an annoyance — it’s one of the most common occupational hazards. Prolonged exposure can gradually erode hearing, reduce concentration, and contribute to a range of long-term health problems. For this reason, occupational safety authorities around the world set clear limits on both noise intensity and the duration of exposure. Meeting compliance requirements means accurately and continuously measuring noise in the workplace. A sound level meter (SLM) is the go-to instrument for this task. In the sections that follow, we’ll look at how to prepare for measurements, take readings correctly, and keep reliable records that stand up to scrutiny.
Understanding Workplace Noise Standards
Different countries and regions have established workplace noise standards to help prevent hearing damage from prolonged or excessive exposure. While the exact limits vary, the goal is the same — to maintain a safe and healthy working environment. Here are some common benchmarks:
| Region/Standard | Exposure Limit | Measurement Standard |
| OSHA (USA) | 90 dB(A) for 8 hours (PEL) | OSHA 29 CFR 1910.95 |
| NIOSH (USA) | 85dB(A)for8hours | NIOSH Criteria Document |
| EU Directive 2003/10/EC | 87 dB(A) peak limit, hearing protection above 80 dB(A) | EN 61672-1 |
| Australian Standard AS/NZS 1269 | 85 dB(A) for 8 hours | IEC 61672 compliant |
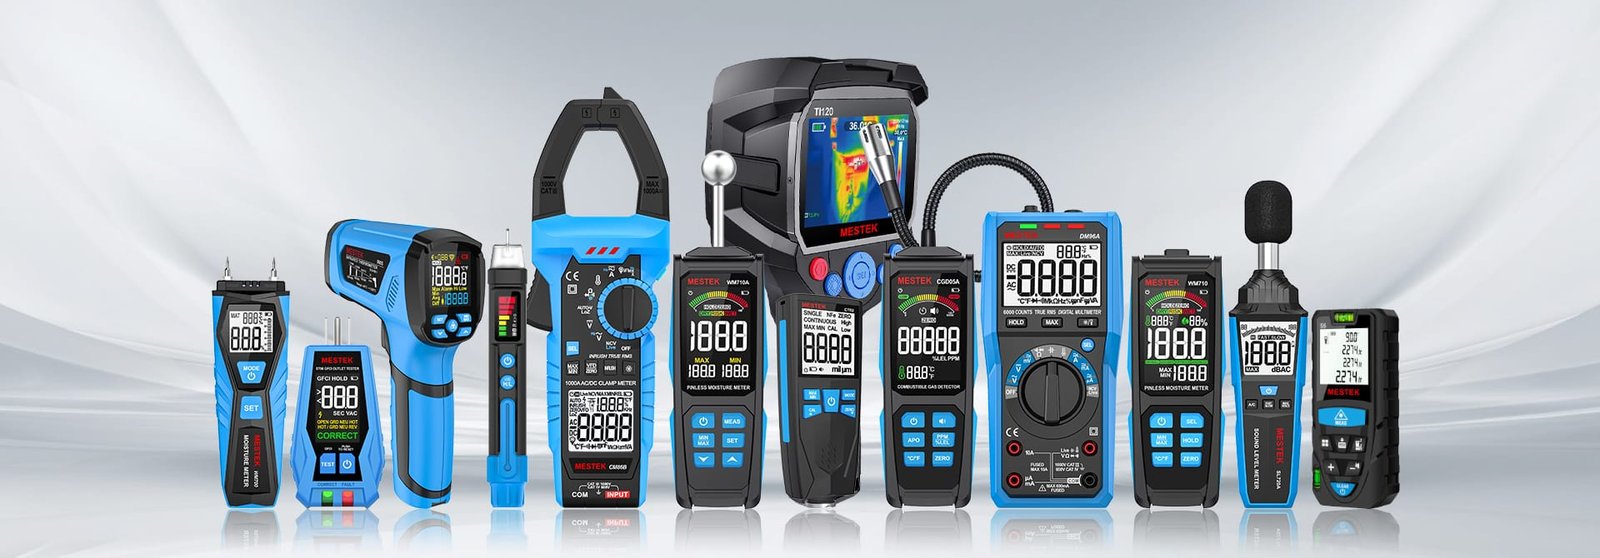
Tip: Always check your local noise standards before conducting workplace noise assessments to ensure your measurement approach meets the required criteria.[View MESTEK AC-weighted sound level meters].
What is a Sound Level Meter and How It Works

A sound level meter is a device designed to measure sound pressure levels in decibels (dB). It consists of:
- Microphone: Captures sound waves.
- Amplifier & Frequency Weighting: Adjusts and filters the signal.
- Display Unit: Shows the measured sound level in real time.
There are two main accuracy classes:
Class1: High-precision with a wide frequency range, ideal for advanced professional measurements where maximum accuracy is required.
Class 2: Designed for reliable everyday noise assessments, offering accurate results for occupational, environmental, and general industrial applications.
Frequency Weighting Options:
- A-weighting (dB(A)): Mimics human ear sensitivity, used for workplace compliance.
- C-weighting (dB(C)): Measures peak or high-level noise.
- Z-weighting (dB(Z)): Flat response, for scientific analysis.
Preparing for Noise Measurement
Before using your sound level meter, preparation is key for accurate results.
Choose the Right Equipment
- Select a Class 1 or Class 2 sound level meter depending on compliance requirements.
- Ensure the meter supports A-weighting and slow/fast response modes.
Calibrate the Meter
- Use an acoustic calibrator before and after measurements to verify accuracy.
- Calibration is typically done at 94 dB or 114 dB reference tone.
Plan the Measurement Locations
- Identify noisy areas such as machinery rooms, production lines, or outdoor worksites.
- Consider both stationary noise sources (machines) and mobile sources (vehicles, forklifts).
How to Measure Workplace Noise Levels
The process involves systematic measurement to comply with regulations.
Positioning the Microphone
- Hold or mount the microphone at the worker’s ear height.
- Avoid placing it too close to walls or reflective surfaces.
- For personal exposure monitoring, use a noise dosimeter worn by the worker.
Recommended Settings
- A-weighting for compliance checks.
- Slow response for steady noise; fast response for fluctuating noise.
- Measure during typical work activities for realistic exposure data.
Recording and Interpreting Results
Documenting results is essential for compliance reporting and worker safety plans.
Sample Noise Measurement Log:.
| Location | Date | Time | A-weighted dB (Leq) | Peak dB(C) | Notes |
| Machine Shop | 2025-08-08 | 10:00 AM | 88 dB(A) | 102 dB(C) | Continuous machine operation |
| Packaging Area | 2025-08-08 | 10:45 AM | 82 dB(A) | 95 dB(C) | Conveyor belts in use |
Common Mistakes to Avoid
- Not calibrating the meter: Can lead to inaccurate readings.
- Wrong weighting selection: Using C-weighting instead of A-weighting for compliance.
- Short measurement duration: Not representative of a full work shift.
- Poor microphone placement: Can distort results.
Maintaining Compliance Over Time
Noise assessments should not be a one-time activity. Best practices include:
- Annual noise surveys or whenever new equipment is installed.
- Regular training for workers on hearing protection.
- Record keeping for at least 2–5 years, depending on regulations.
- Investing in reliable sound level meters to ensure ongoing compliance.
Conclusion
Maintaining safe noise levels at work is about more than meeting requirements—it’s about protecting hearing health and creating an environment where people can focus and work effectively. When a sound level meter is used correctly and readings are taken in a consistent way, it becomes much easier to understand actual noise exposure and decide what actions are needed. Whether the tool is a high-precision Class 1 model or a dependable Class 2 unit for everyday checks, the priority is to measure regularly, keep accurate records, and address any areas where sound levels are too high.
For workplaces seeking a reliable option for a dependable solution, the MESTEK SL750B offers A/C weighting, making it a practical choice for continuously monitoring noise without interrupting workflow.