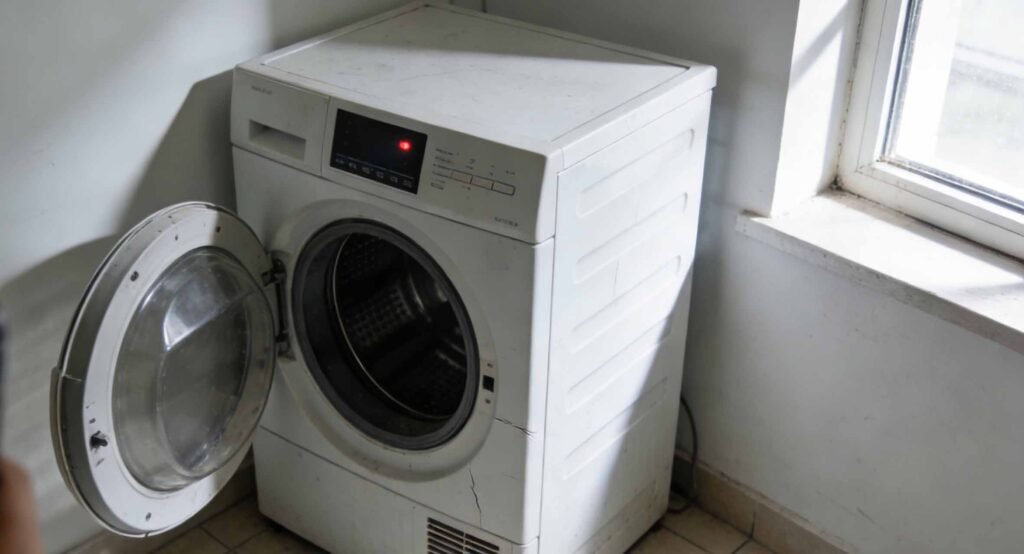
If your dryer keeps tripping the circuit breaker, it’s not random—and it’s not something you should ignore. A tripping breaker is designed to protect your home from electrical overloads, short circuits, and potential fire hazards.
In this article, we’ll walk through 5 common reasons a dryer trips the breaker, and explain how each issue can be identified through proper electrical checks.
1. Circuit Overload from High Current Demand
One of the most common reasons a dryer trips the breaker is circuit overload. Electric dryers draw a significant amount of current, especially during the heating cycle. If the dryer shares a circuit with other high-power appliances, the total load may exceed the breaker’s rated capacity.
Typical signs of overload:
- Breaker trips shortly after the dryer starts heating
- Breaker trips more often during peak household power usage
- No visible damage to the dryer itself
A clamp meter can be used to measure the actual current draw and determine whether the circuit is overloaded.
2. Short Circuit Inside the Dryer
A short circuit occurs when electricity flows along an unintended path, often due to damaged insulation or failed internal components. When this happens, current rises sharply and causes the breaker to trip immediately.
Common causes include:
- Worn or exposed internal wiring
- A heating element touching the metal housing
- Burned or loose electrical connections
Short circuits usually cause the breaker to trip as soon as the dryer is turned on.
Ground Fault or Moisture-Related Issues
Ground faults happen when electrical current leaks to ground instead of returning through the neutral conductor. This can be caused by moisture buildup, aging insulation, or internal component failure.
Homes with GFCI or AFCI protection may experience more frequent breaker trips if a ground fault is present—even if the dryer seems to operate normally.
Electrical testing helps confirm whether leakage current is causing the issue.
4. Defective Heating Element or Thermal Components
The heating element is one of the highest current-drawing components in a dryer. If it becomes damaged or partially shorted, it can draw excessive current and trip the breaker.
Warning signs include:
- Dryer runs but trips only during heating
- Inconsistent drying performance
- Burning smell during operation
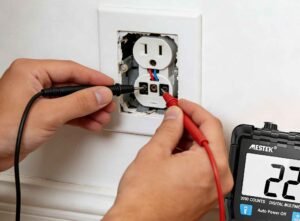
A digital multimeter can be used to check resistance and continuity of the heating element, thermal fuse, and thermostat.
5. Motor or Startup Electrical Problems
Dryer motors draw a surge of current when starting. If the motor bearings are worn or the start capacitor is failing, the startup current may exceed safe limits and cause the breaker to trip.
This issue often appears as:
- Breaker trips immediately when pressing “Start”
- Humming sound without drum rotation
- Intermittent tripping during startup
Measuring startup current with a clamp meter can help determine whether the motor is drawing excessive amperage.
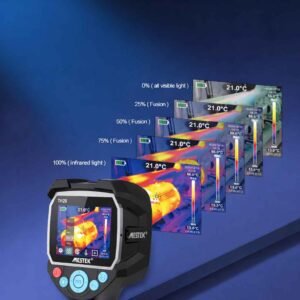
How Electrical Testing Helps Identify the Root Cause
Basic electrical testing tools make dryer diagnosis more accurate and safer:
- Clamp meters allow current measurement without disconnecting wires
- Multimeters help verify voltage, continuity, and resistance
- Abnormal readings often point directly to the failing component
These checks help narrow down the problem before replacing parts or calling a technician.
Safety Tips Before Inspecting a Dryer
Disconnect power at the breaker panel
Use insulated tools and protective gloves
Avoid testing live circuits unless properly trained
Stop immediately if wiring damage is visible
When in doubt, consult a qualified electrician.
Conclusion
If your dryer keeps tripping the breaker, it’s usually caused by one of five issues: circuit overload, short circuit, ground fault, heating element failure, or motor-related problems. Identifying the correct cause early can prevent appliance damage and reduce electrical safety risks.
Understanding these common reasons—and knowing how to diagnose them properly—can help you decide the safest and most effective next step.