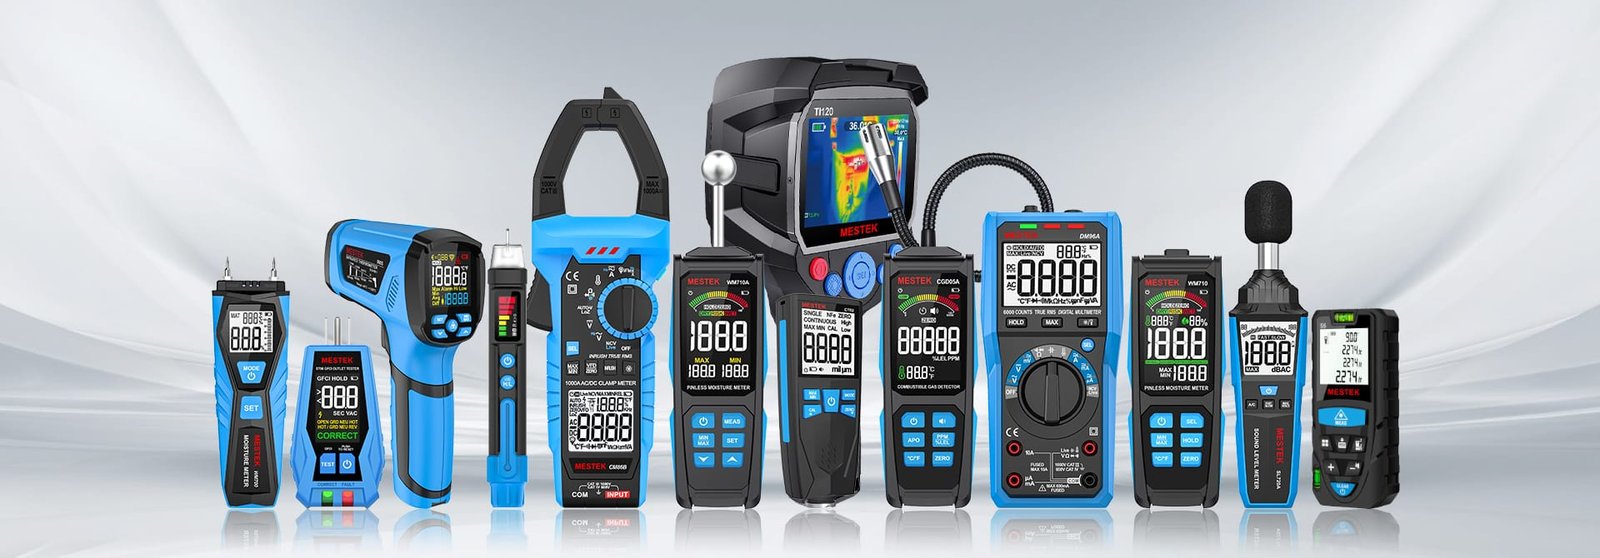
Learn to use a multimeter in one minute – a beginner’s guide

From understanding a multimeter to using it like a pro. Whether you are a DIY enthusiast or a professional technician, it is important to know how to use a multimeter. This guide focuses on digital multimeters.

Recognize the symbols of a multimeter

When you see the dial of a digital multimeter, are you scared by the dense numbers? Don’t worry, a table will help you understand the multimeter symbols.

V-DC voltageMeasuring AC voltage at household sockets
V~AC voltageMeasures DC voltage, typically found in batteries
ACurrentMeasures current (applicable in both AC and DC modes)
ΩResistanceMeasures the resistance of a circuit or component
NCVNon-Contact Voltage TestAvoid direct contact with live wires
HzFrequencyMeasures the frequency of a signal, commonly used in audio, radio, etc
▶|IDiodeTests diodes to confirm that current flows in one direction
🔊buzzerTests circuit integrity by sounding a beep

Digital multimeter are divided into manual multimeters used by professionals, and automatic and smart multimeters for daily use. In the early learning stage, we recommend using an automatic or smart multimeter because it is easy to use and has higher accuracy.

DM91A multimeter in action distinguishing neutral and live wires
DM91A multimeter being used to test AC voltage frequency and distinguish between neutral and live wires with high precision.

Use of test leads

Insert the red test lead into the VΩ hole and the black test lead into the COM hole to measure DC voltage, AC voltage, resistance, capacitance, diode, transistor, check circuit continuity, etc. Insert the black test lead into the COM hole, measure mA level current or μA level current and insert the red test lead into the mA current dedicated jack. The COM hole, also known as the common end, is a jack specifically inserted into the black test lead. To measure currents higher than mA level, insert the red test lead into the 10A or 20A hole and the black test lead into the COM hole.

Multimeter Application

(1) Voltage test: Measures battery voltage, wall outlet power, or circuit board voltage.

(2) Current test: Identifies current in a circuit to troubleshoot.

(3) Resistance test: Checks for faults in resistors, wires, or electronic components.

(4) Diode test: Verifies diode functionality and polarity.

(5) Continuity test: Ensures wiring connections are intact, especially useful in automotive and home repairs.

When using a multimeter, you should always check whether the recent instrument tools are reliable. Otherwise, it will cause you trouble next time you use it, and misjudgment will cause maintenance and inspection difficulties.
Share our interesting knowledge and stories on social media

Have questions? Get a quote

Want to learn more? Click the button now.

More Posts>>>

The image clearly illustrates the importance of home EMF meter readings.

How to Interpret EMF Meter Readings

Electromagnetic fields are everywhere in modern homes. From WiFi routers and laptops to refrigerators and electrical wiring, nearly every powered device generates some level of electromagnetic energy. As EMF meters become more popular among homeowners, one question appears again and again: What do EMF meter readings actually mean? Many people purchase an EMF detector, take a few measurements around the house, and immediately encounter numbers they don’t understand. Is a reading of 2 mG normal? Is 10 mG high? Why

Automotive engineers are using the MESTEK BT10 battery tester to test 12V batteries in automobiles.

How to Choose the Best Battery Tester for Car Batteries: A Complete Guide

Modern vehicles rely heavily on electrical systems. The battery is at the center of everything from starting the engine to powering onboard electronics. Yet most drivers only think about their battery when the car refuses to start. That’s where a reliable diagnostic tool becomes essential.  Choosing the best battery tester for car batteries is not just about checking voltage. It’s about understanding your battery’s actual condition and its overall health. A good tester can help you avoid unexpected breakdowns, reduce

Fork Meter vs Flexible Clamp Meter: Which One Should You Use?

Fork Meter vs Flexible Clamp Meter: Which One Should You Use?

Choosing the right electrical testing tool depends heavily on the type of work you do. While both fork meters and flexible clamp meters are designed for current measurement, they solve very different problems in real-world electrical environments. A fork meter is typically designed for fast and convenient electrical diagnostics, while a flexible clamp meter is built for measuring high-current conductors in difficult-access environments. Understanding these differences can help electricians, HVAC technicians, and maintenance professionals choose the right tool for the

Flexible Clamp Meter is testing cables.

How Flexible Clamp Meter Simplify High Current Measurements

Traditional clamp meters face significant limitations when measuring high current in industrial settings. Large conductors, limited panel access, and densely packed switchgear create scenarios where rigid jaw designs simply do not work. Electricians and maintenance teams working on three phase systems or crowded electrical panels often struggle to position standard meters around oversized cables. The flexible clamp meter addresses these challenges directly. It offers a practical solution for difficult measurement environments where precision and accessibility matter most. This article explores

Get more information

mestek product collection